I recently went to a course in growing microgreens arranged by nabolagshager, meaning neighbourhood gardens. Microgreens are young seedlings of edible vegetables and herbs harvested less than 14 days after germination.
Our teacher, Christopher Rodriguez, has recently founded a company called Tåsen microgreens. Interestingly, he and his wife grow microgreens for a living in a former storeroom , which should nornally be inhospitable to plants in general. Instead, by means of artificial light and irrigation, they are able to make a living by selling microgreens to restaurants, catering companies, etc. Before we started the course, Christopher showed us a well-assorted range of microgreens, ranging in colour from bluish to various shades of green, while the sizes were on the order of 10×10 cm2. Surprisingly, the microgreens looked like small fertile gardens completely covered with greenery, which had accidentally ended up in a classroom.
After having given us a short description of his background, his company and microgreens in general, we were given small plastic boxes in which we should fill a layer of vermiculite. According to this website, vermiculite is used as a soilless growing medium, which allows gardeners to grow healthier plants without the threat of soil-borne diseases. Plants grown in soilless mixes are also less likely to be bothered by pests. He also informed us about other types of soilless growing media, like perlite, sand and coconut coir.
Next, we could select which types of seeds we wanted to grow like broccoli, celery, clover, leek, mizuna, pak choi, ruccola, etc. I selected ruccola and a type of Brassica oleracea because we were told that they are easy to grow. Christopher showed us how to disperse the seeds by holding a small amount of seeds and shaking our hands above the boxes with vermiculite. Finally, we sprayed each box with a generous amount of water. Besides, each box had been perforated in the lower corners and we were advised to let the boxes stay for some time in shallow water such that water would enter through the holes.
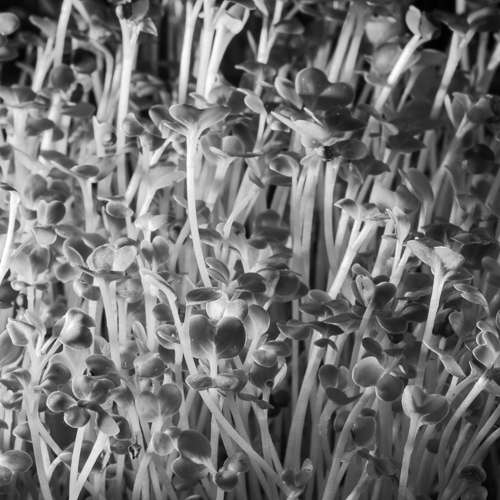
Back at home, I put the boxes in a bucket filled with a little water twice daily and I applied water carefully on the surface of the growing media. Actually, a spray would have been better, but I only wanted to do this once. After just a few days, tiny sprouts appeared among the grains of vermiculite and after two weeks, the microgreens were ready to be harvested. Then, I cut off one of the walls of the plastic boxes and I cut the microgreens with scissors. Using them as garnish added a delicious touch to each meal.
I recently got an email from someone who’s reading this blog and he let me know that growing (edible) plants in boxes is called container gardening. For those who want to know more about it, I recommend having a look at his blog.
Having tried growing microgreens, I would definitely recommend doing it for those who like growing their own food with very little effort. An introduction can be found here.
